 McKenna Hogan
3 Ways to Audit Multifamily Apartment Photography
Photography is one of the most common marketing assets in real estate. Little do people know, it’s not something you can just set and forget.
.png)
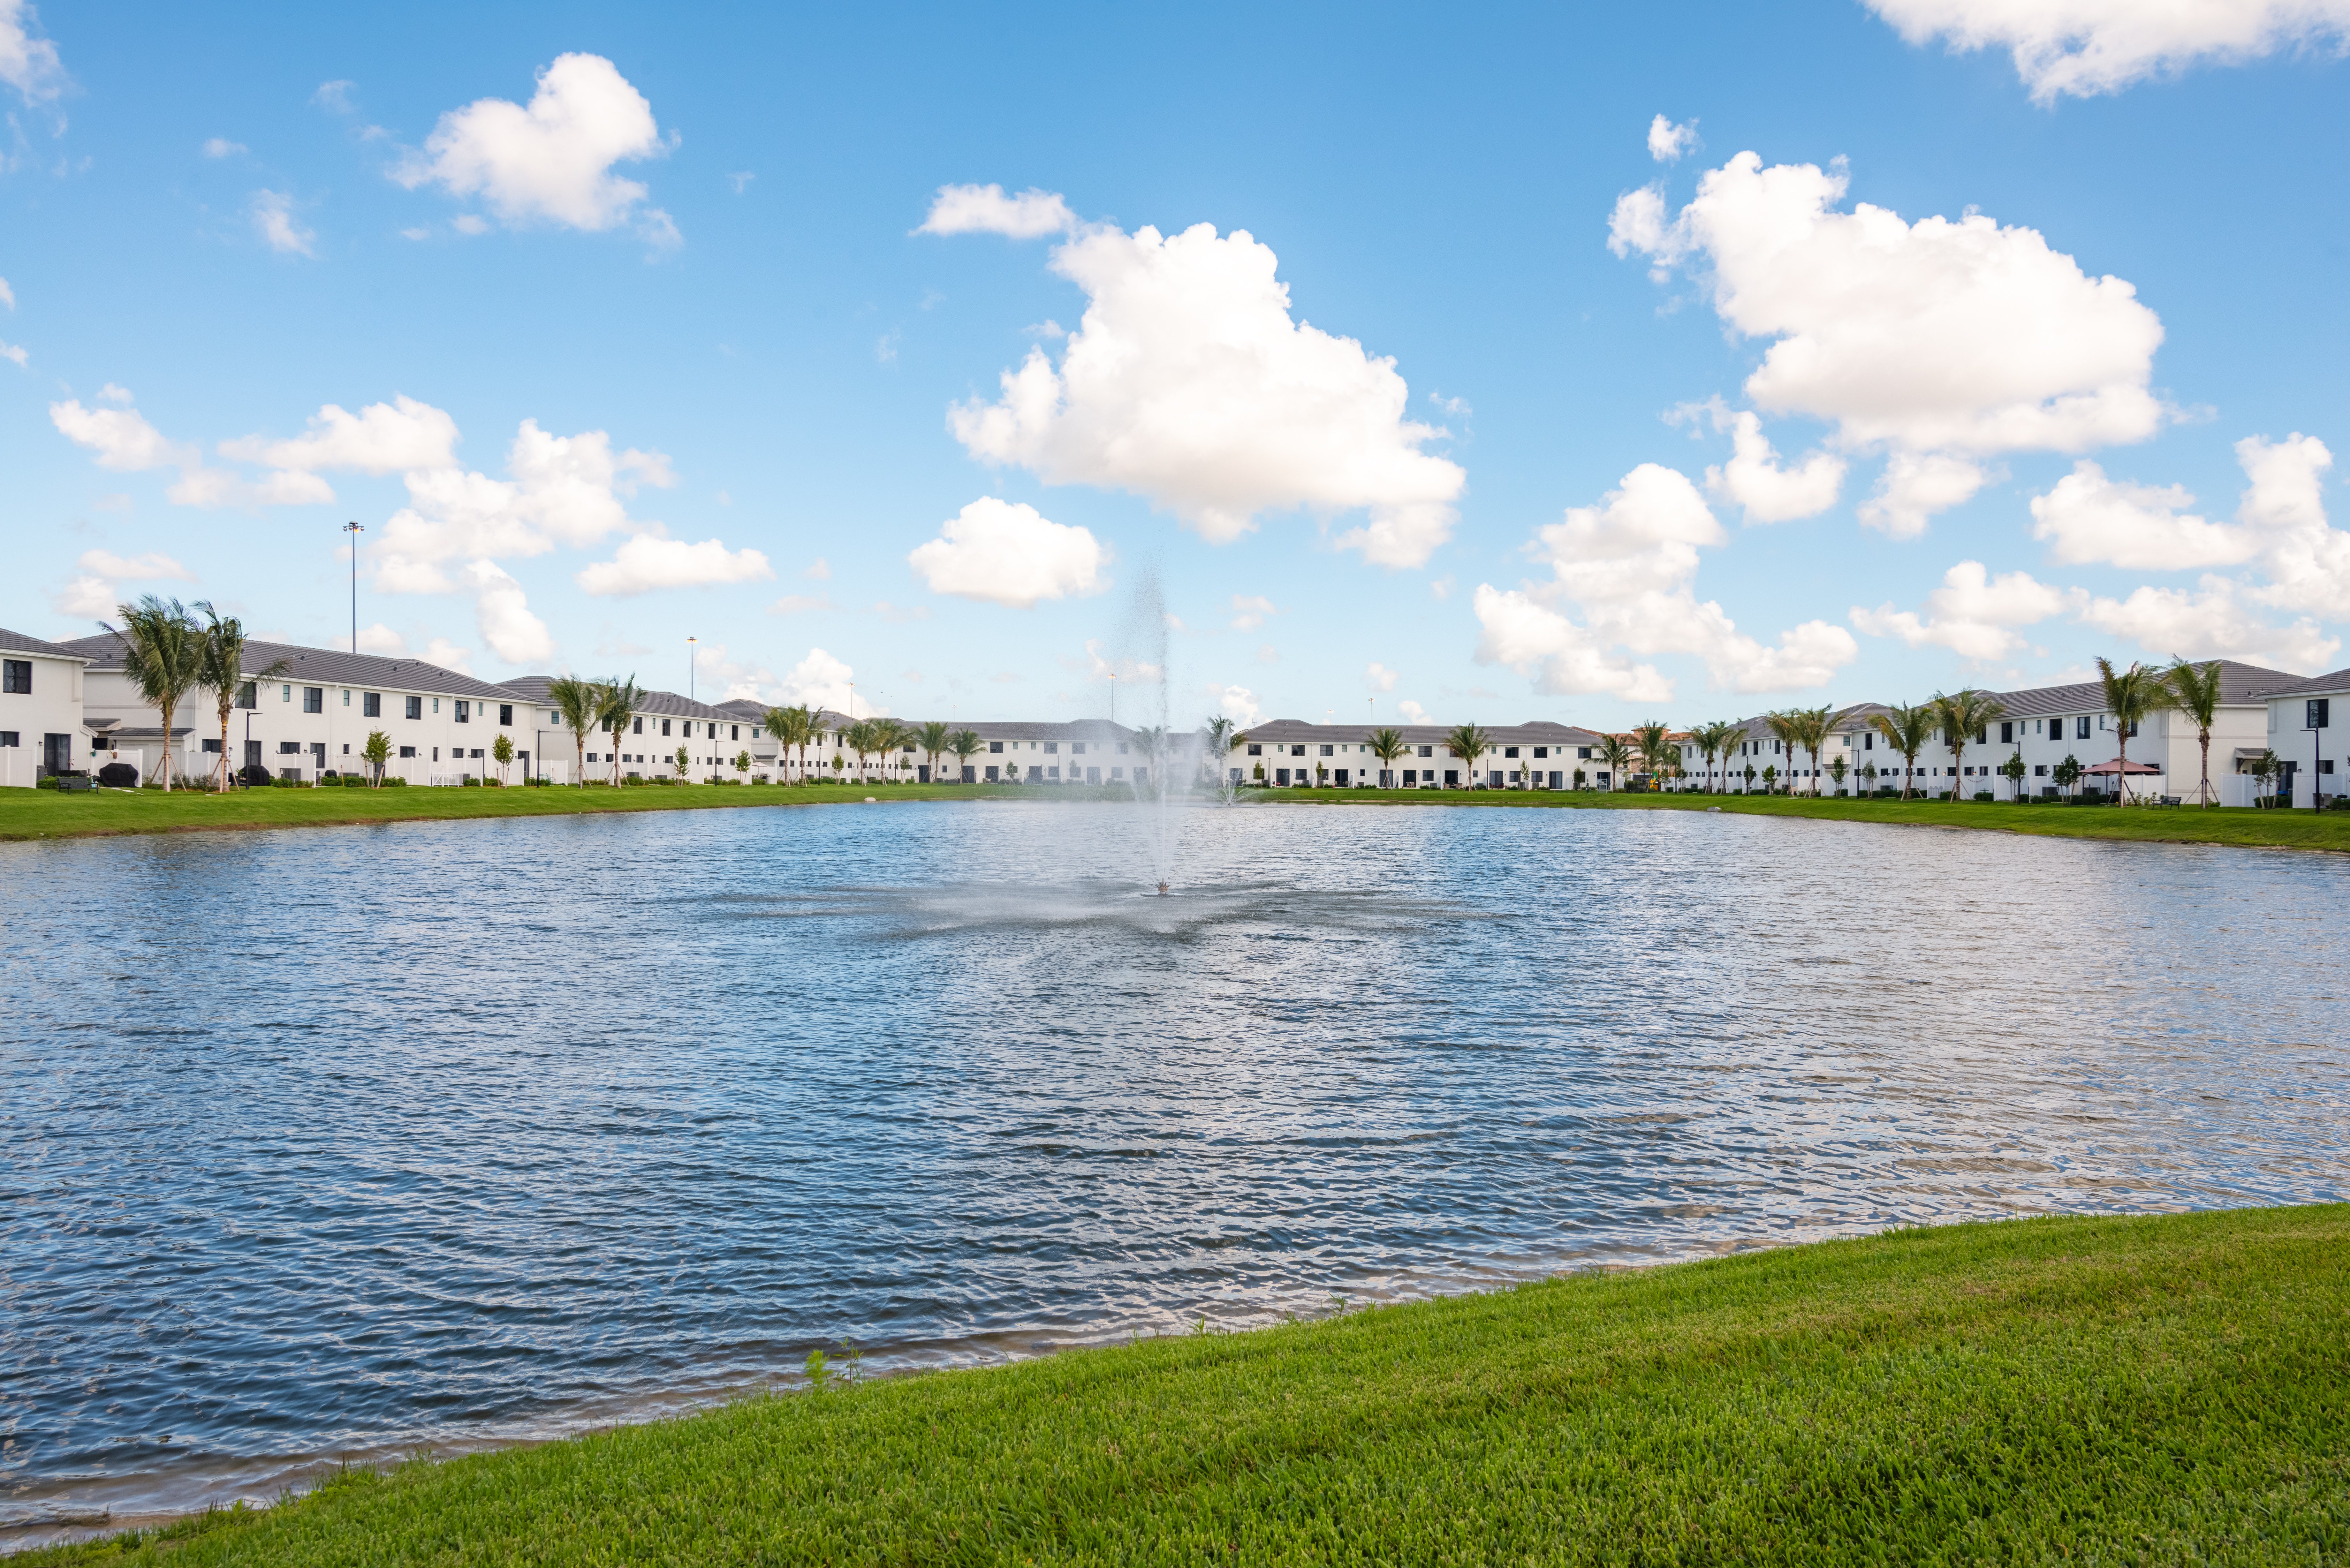
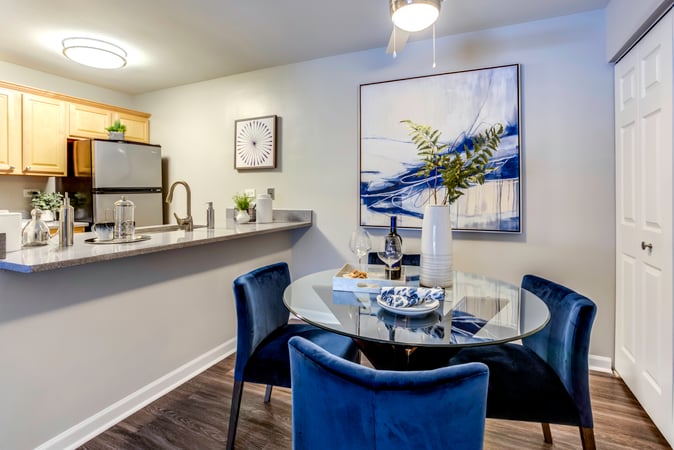
Apartment photography is not only necessary, but also highly regarded in the minds of renters.
Because of its importance to informing prospects as well as aiding in the leasing process, it’s become increasingly important to get high-quality shots on a consistent basis.
To help take photography to the next level - and stand out among competitors - below we’ll dissect 10 apartment photography techniques you might be forgetting, to ensure the best possible end result.
Before taking your first photo, it’s a good idea to take a look around the property to get a better feel of the space and atmosphere.
Because all apartment communities are different, they require a bit more understanding of the fundamentals of a space—it’s not a one size fits all.
For example, minimalist properties with a lot of open space and natural lighting may require certain camera settings, angles, and editing, as opposed to a cottage-like apartment with darker hues and unique dimensions.
What a walk-through does is provide a better understanding of the space you’re shooting so that apartment photography techniques can be consistent and personalized to the community.
Take it one step further and take a few quick shots of each room to examine and prep before the actual shoot!
It’s pretty common for a professional photographer to receive a shot list before a photo shoot.
However, if there’s anything we know here at LCP it’s that each property (and the people in charge) has a vision for what they hope their apartment photography will look like, and may want more focus on certain areas, or less in some.
To get it right the first time, discussing a proper shot list for both parties will ensure a seamless experience.
And to top it off, real estate photographers won’t have to come back out to reshoot and potentially delay any marketing or sales strategies in place by the apartment community.
It seems pretty obvious, but it’s one of the most important things to consider when conducting an apartment photo shoot.
Not only does the weather affect exterior photography, but interior photography as well. Not to mention, it may take longer to find the right camera settings and lighting when the weather catches you off guard.
Consider the below examples:


The emotional response to apartment photography with bad weather conditions is significantly different. And if you’re going to conduct a professional photo shoot, you’ll probably want all of your hard work to pay off.
As one of the easiest apartment photography techniques, be prepared and check weather before scheduling a shoot!
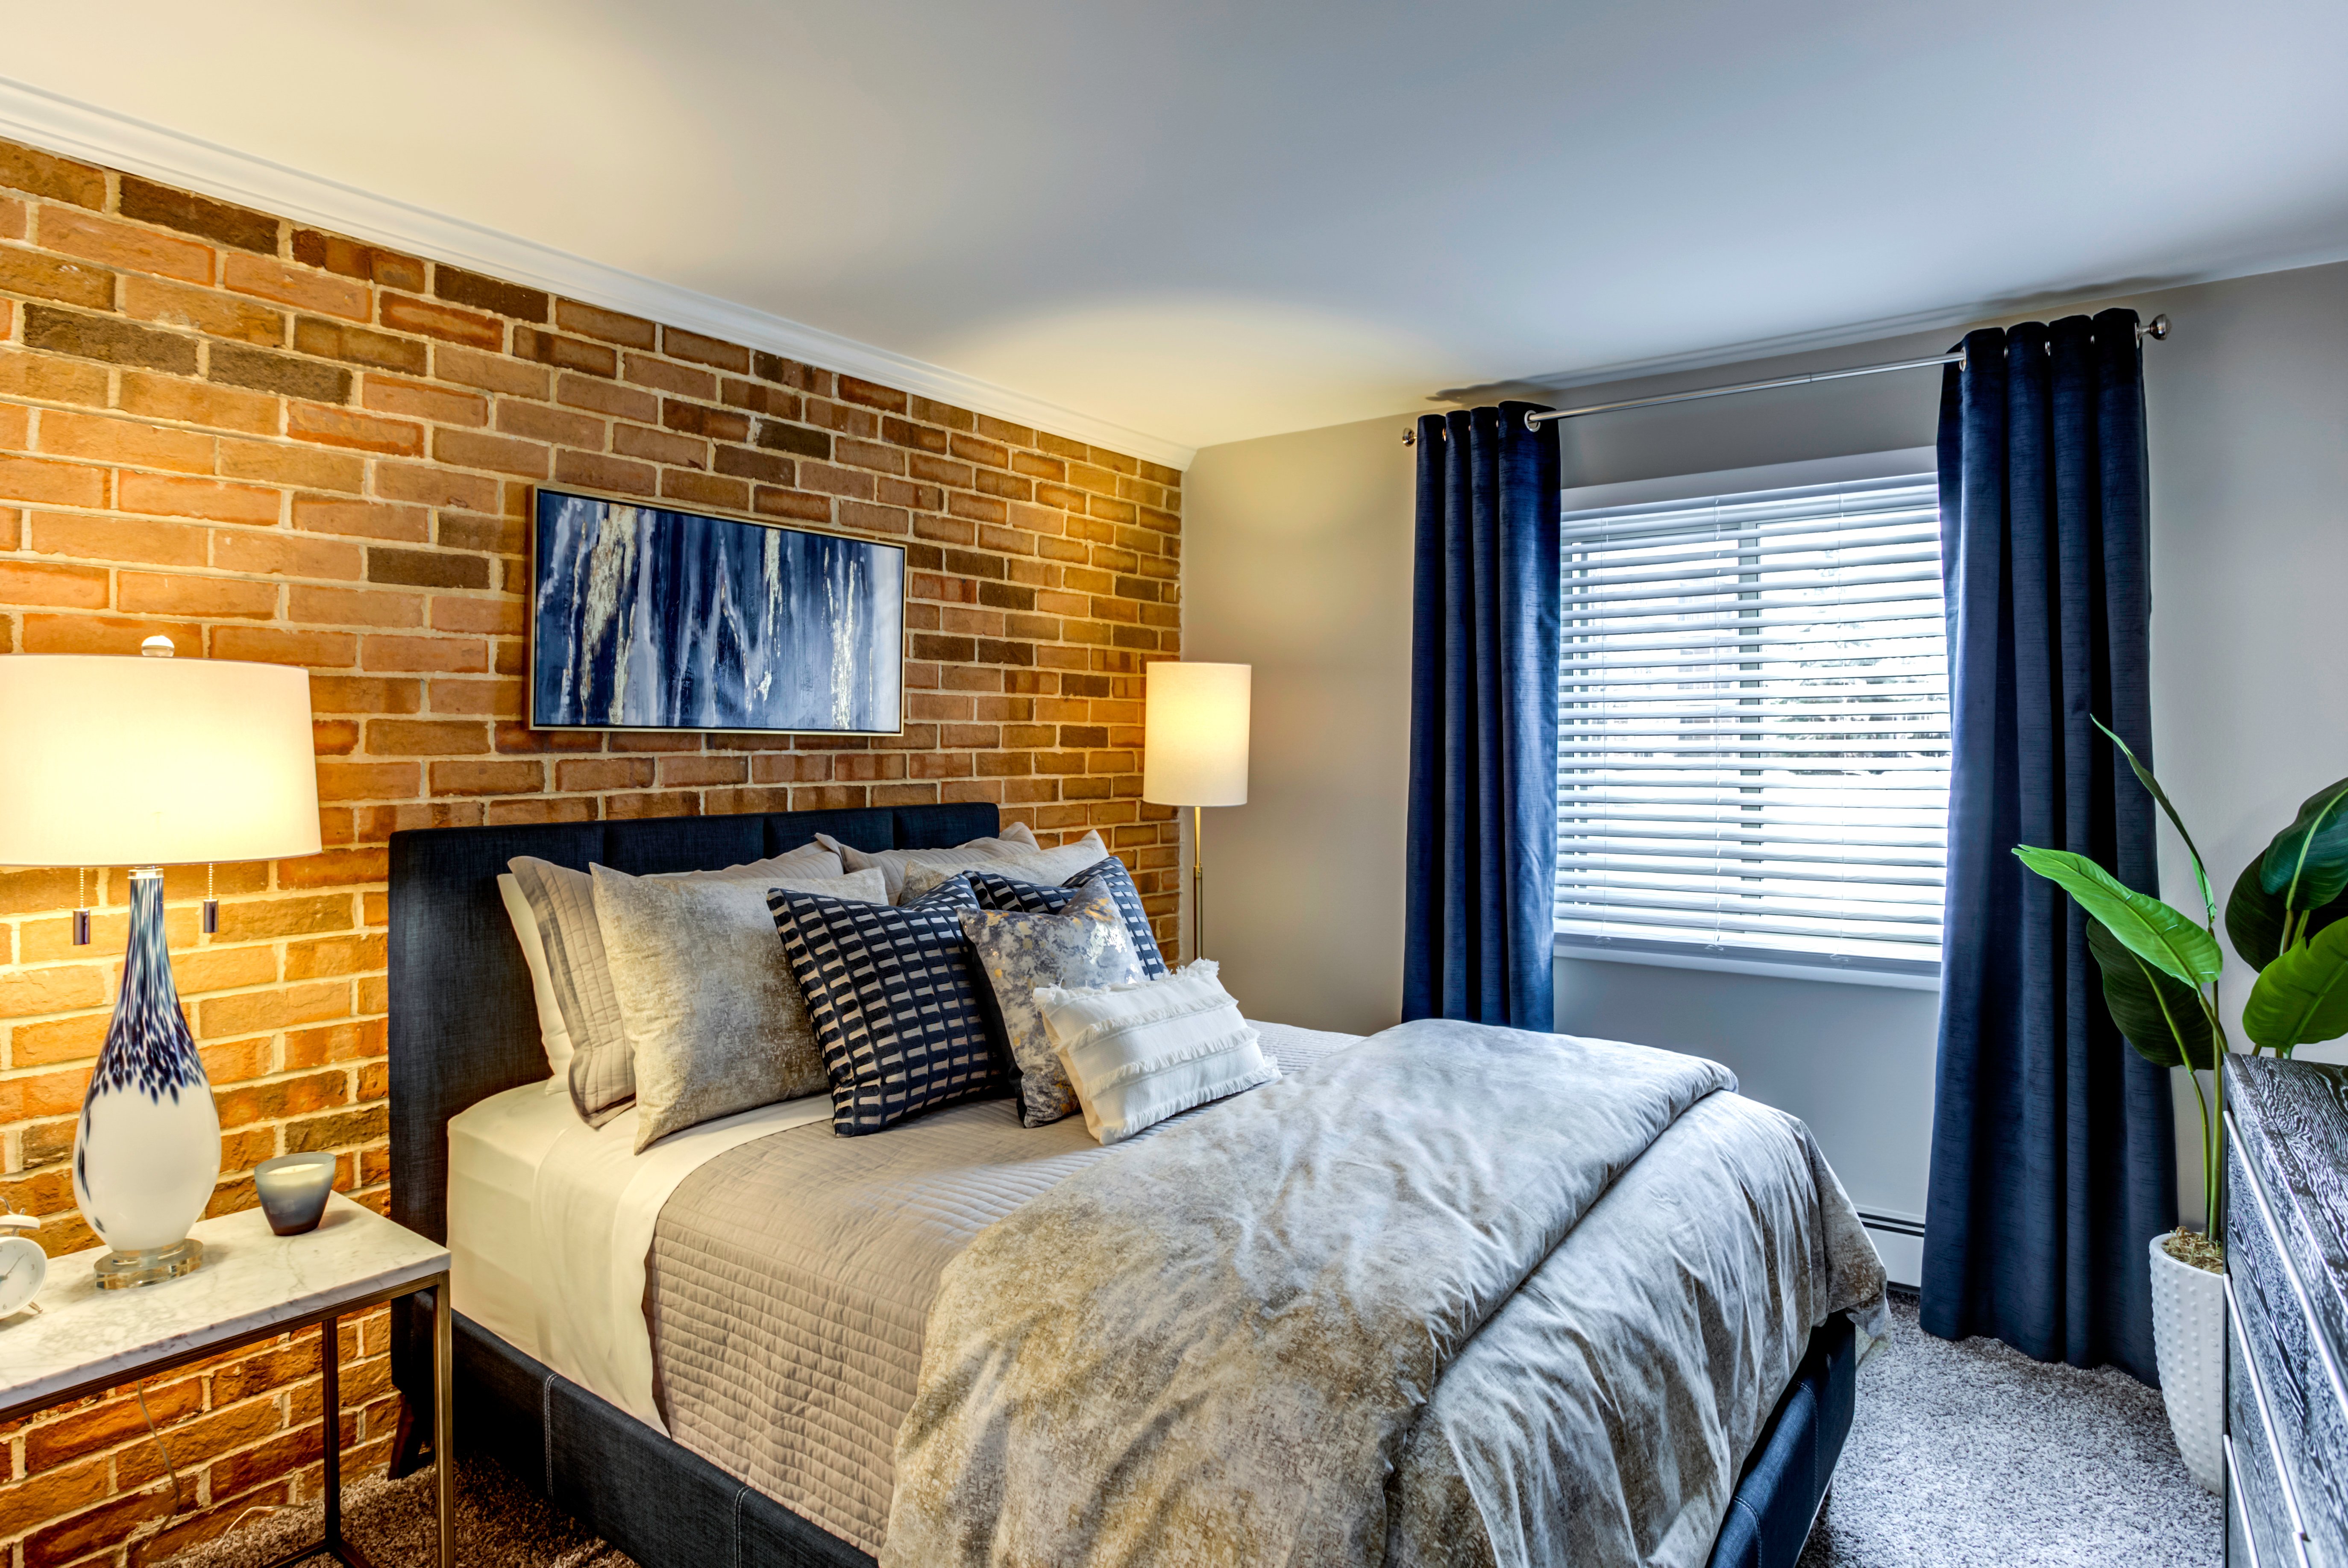
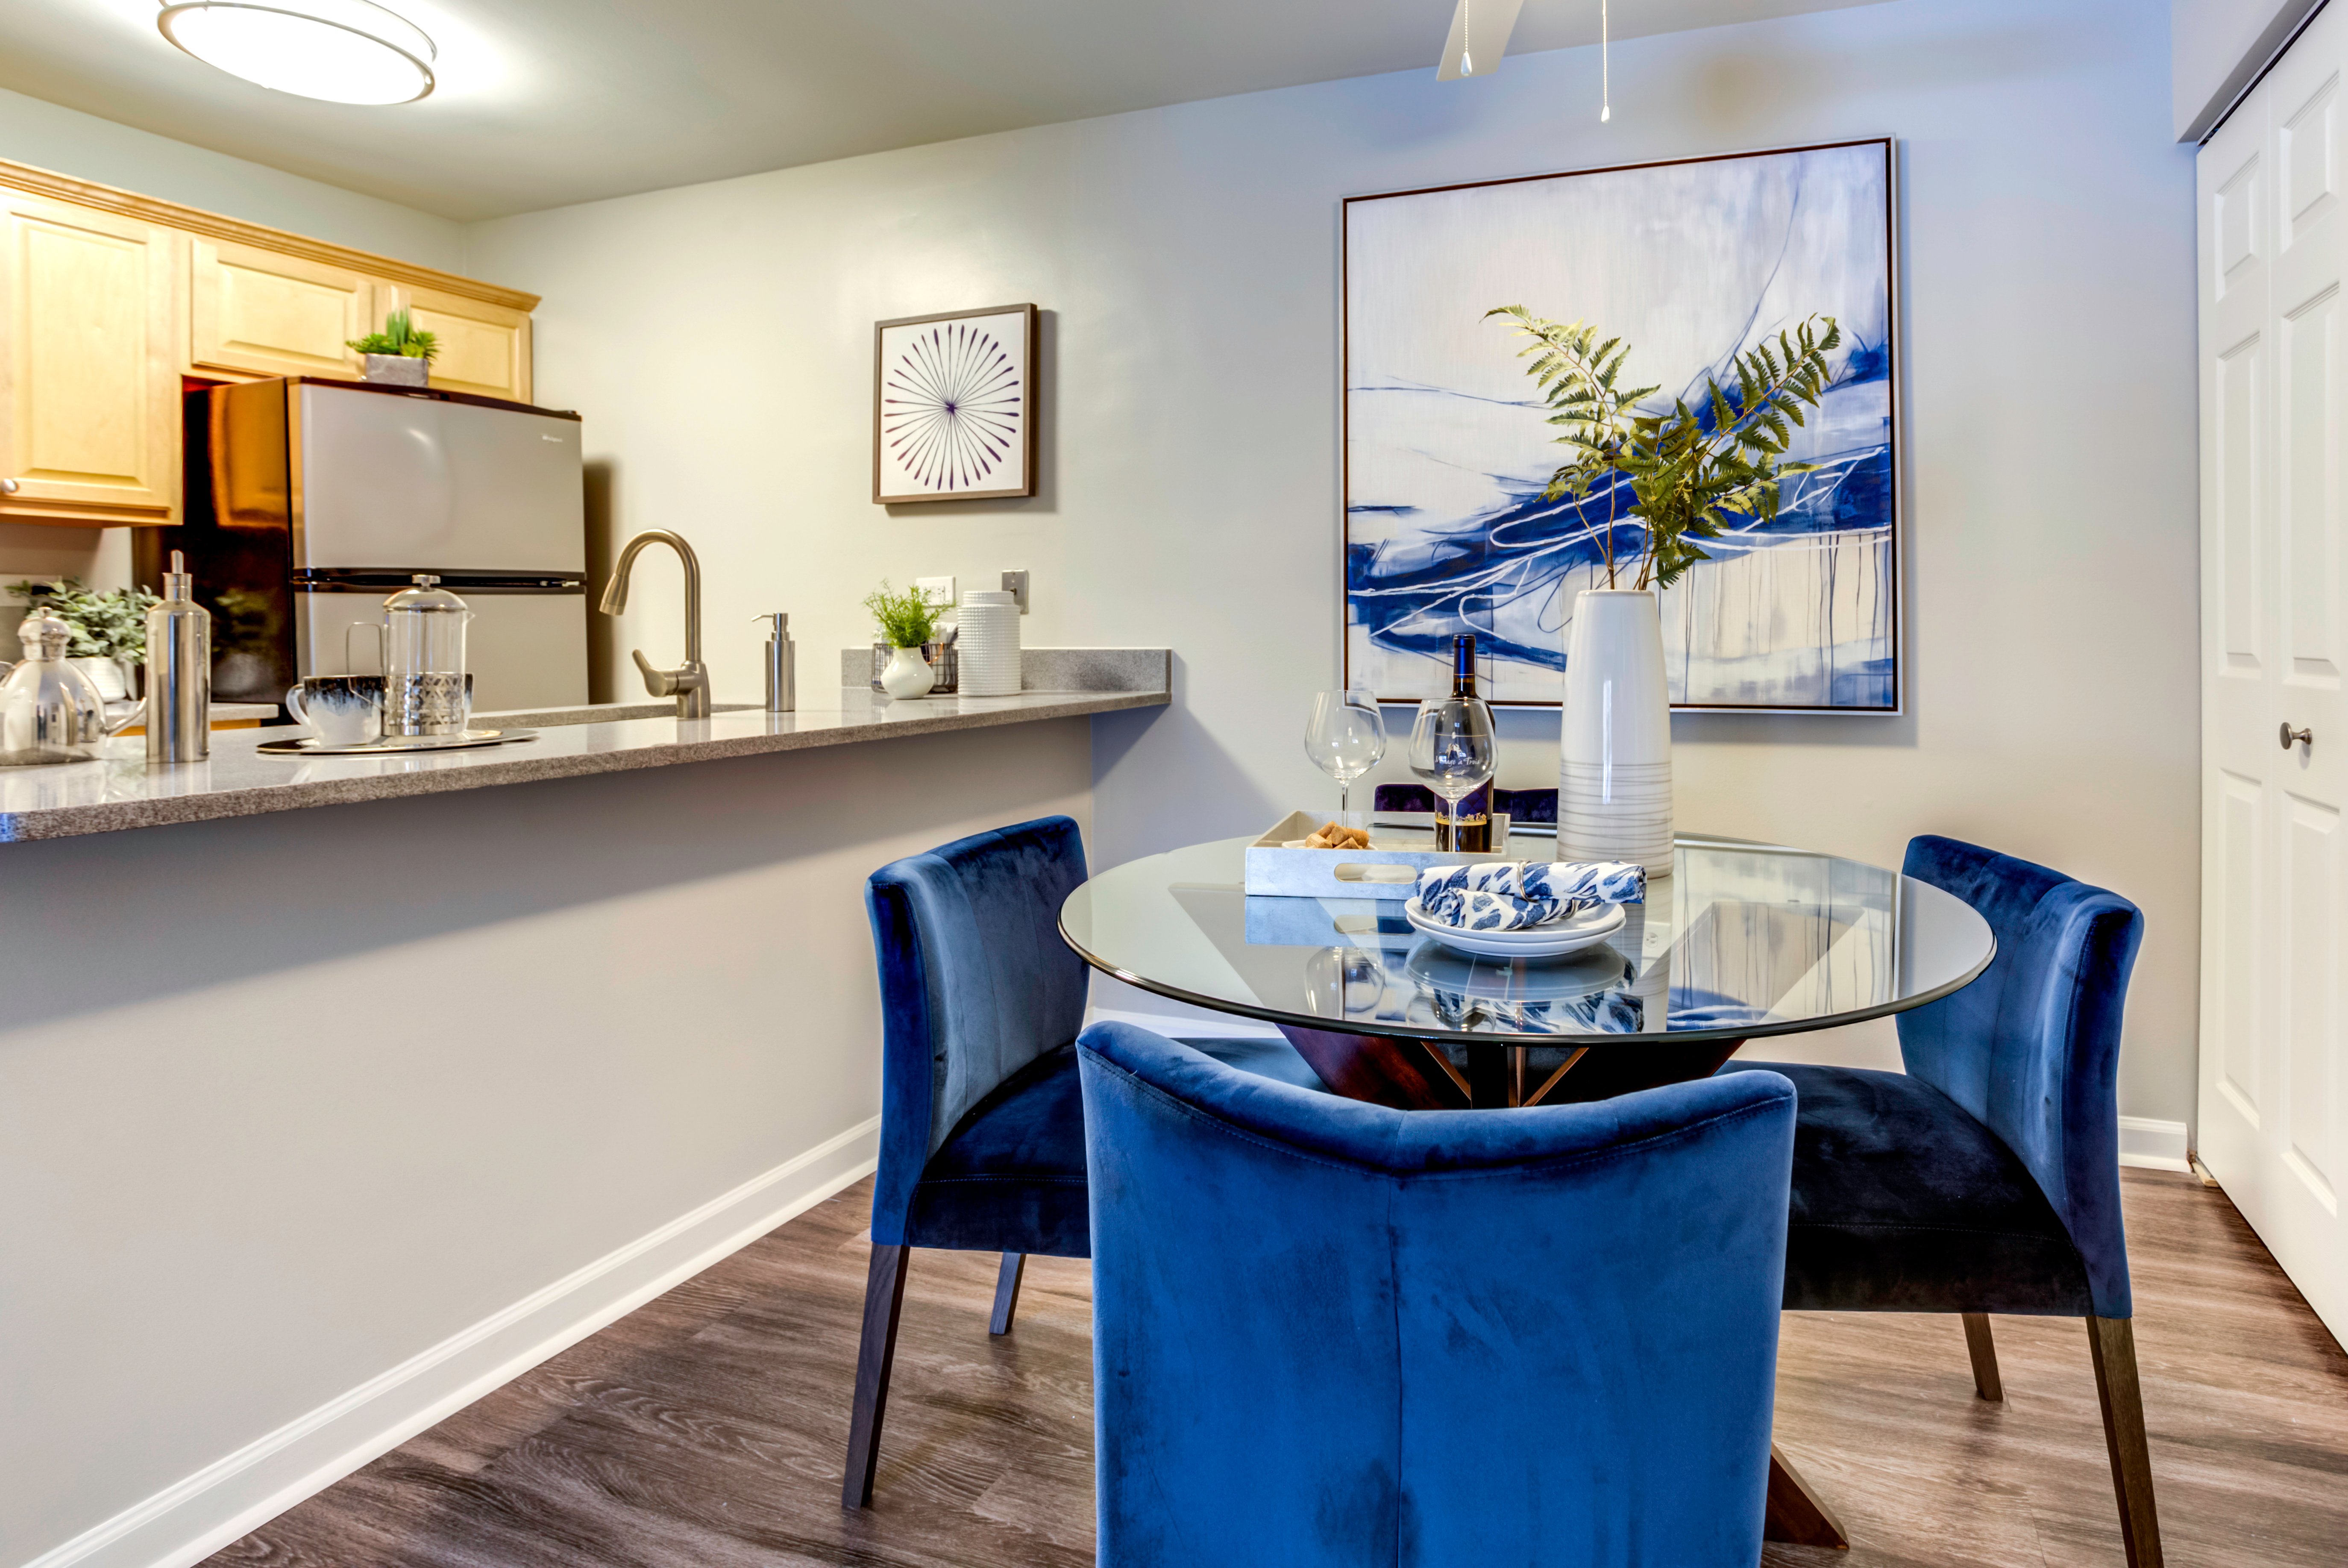
Not always necessary, but reorganizing a room even just a little can completely change the way images turn out.
For example, if a space is a bit closed off and drowns out the dimensions or uniqueness of a particular room, opening it up a bit or removing things could result in a more informative photo.
Staging techniques can be leveraged to help reorganize or lightly adjust certain areas of an apartment community to help make spaces look more appealing.
.jpg?width=2000&name=The%20Photo%20Express%20_%20Social%20Campaign%20(16).jpg)
The overall goal is to produce honest photography, but also to capture spaces in the best light—which sometimes requires a bit of rearranging.
Note: be sure to talk it out with the onsite team before any adjustments are made to ensure everyone is on the same page!
Every space is unique—and sometimes those distinct differences may require different techniques to receive the best shot.
For example, some on-site teams may prefer less lighting in their photos to create a specific mood.
Another example would be sensor lighting.
An LCP photographer had quite the eventful photo shoot when he figured out the most effective way to get shots while the lights were on (in a rather large facility) required a hoverboard.
Moral of the story - if it’s there, and it’s finicky or has a timer situation, inquire beforehand so that you don’t have to find out the hard way, and/or have to be responsible for making it work.
Overall, don’t leave anything to surprise—especially if it affects the photo shoot process.
Similar to checking the weather and conducting a walkthrough, preparing all of the lighting before a photo shoot - i.e. natural and artificial lighting - will help streamline photo shoots.
Most apartment photography techniques require a mixture of outside light coming in as well as overhead lighting in each unit.
Once lighting is set, blinds/curtains are drawn and overhead lights are switched on, leverage your camera's flash to bounce off of a wall or flat surface to evenly distribute lighting.
This can help highlight important parts of the room without minimizing others, and ensures there isn’t a vignette in photos.
Below are a few additional lighting tips to follow:
| Related: How to Take Striking Photography for Listings to Rent Units Fast
Per LCP photographer guidelines, it is recommended that photographers conduct a walkthrough of the property with onsite management to ensure everything is clean, prepped, and even staged correctly.
If something seems off, or could use more color to brighten up photos, discuss the use of additional props or staging.
Whether it’s extra plants and flowers around the community, new wall decor, or even decorative books—suggesting the addition of props that will make an image appear more lively or appealing can make a huge difference in how apartment photography turns out.
Here are just a few other areas onsite management should check off before you start photographing:
Once this is done, the addition of props will create a photo shoot ready scene.
Also keep in mind that this is the onsite team’s job, but your guidance will help ensure they receive the best possible photography.
When considering temperature in relation to apartment photography techniques, it may be one of the most important to get down.
Temperature has the ability to trigger certain emotions, and has a huge affect on how individuals perceive a space.
Yellow tones may happen if you have too much lighting from different sources, blue hues can appear if it’s cloudy—if there’s too much of any temperature, it could throw off the balance of the image.
Be sure to double check photos after snapping a shot to even out any obvious color obstructions for a nice even tone throughout a photo shoot.
Formatting is an apartment photography technique that is a little less technique and a little more following specific standards.
To provide consistency throughout your photography (no one likes a bunch of different formatting for each image) it’s best to stick to a single format, but with varying angles to provide a variety or mix of image layouts.
Here are a few suggestions we have for our photographers regarding formatting:
Here are some examples of what to do vs. what not to do (top is correct, bottom is too high/too low):
As you can see, different angles have a significant effect on how a room is seen, so capturing a variety can help narrow down the best ones.
Photo shoots and photo editing can take hours upon hours if done by a single person.
Outsourcing photo editing can not only save time, but it also ensures each photo can be focused on to create high-quality results.
This apartment photography technique is excellent for busy photographers that like to ensure the best end result possible, with the quickest possible turnaround time—for a decent price, too!
As photography equipment becomes more advanced, the photo shoot process must as well. Don’t rely on a high-quality camera to get the best shot—leverage your experience and skills with a few new techniques to produce amazing apartment photos that yield results.
Need some inspo? Here are 18 Examples of Apartment Photos that Helped Lease Units Faster.

Photography is one of the most common marketing assets in real estate. Little do people know, it’s not something you can just set and forget.
.png)
It’s no secret that apartment photography has the ability to yield amazing results.
Let’s face it, with all of the new digital marketing technology out there right now, real estate photography may seem like small priority.